Setting up Google API for Routing and Mapping
Introduction
These instructions are designed to guide customers through obtaining a Google API Key, which is then used through NCompass to use the mapping feature.
Adding Google API's to Google Account
Create User / Sign In
Open an internet browser on your computer and go to the following URL: http://console.developers.google.com
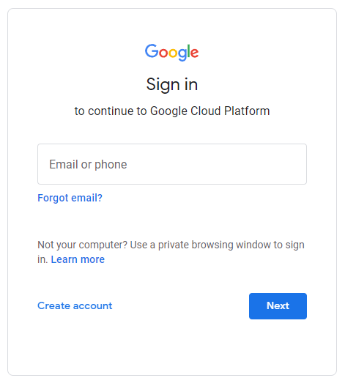
If you already have a Google Account enter your email address and click Next. Alternatively click the Create account option to create a new account.
Create Project
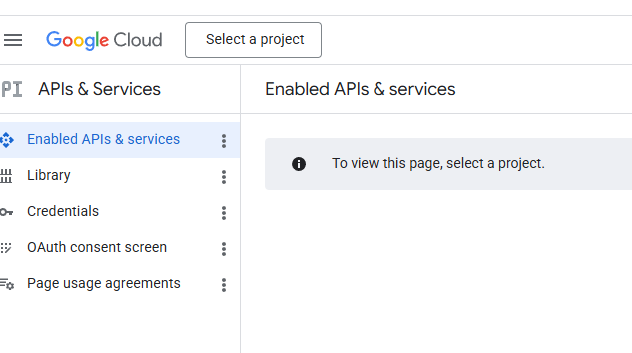
When you have created an account / logged into the Google Developers Console, click on Select a project at the top of the screen.
Click on New Project (at the top right). You are required to create a new project before you can use the Google APIs. Set the project name as ‘Route Mapping’ or something similar. Click on Create. Your web browser will now redirect to the Enabled API's & services page.
Enable API's
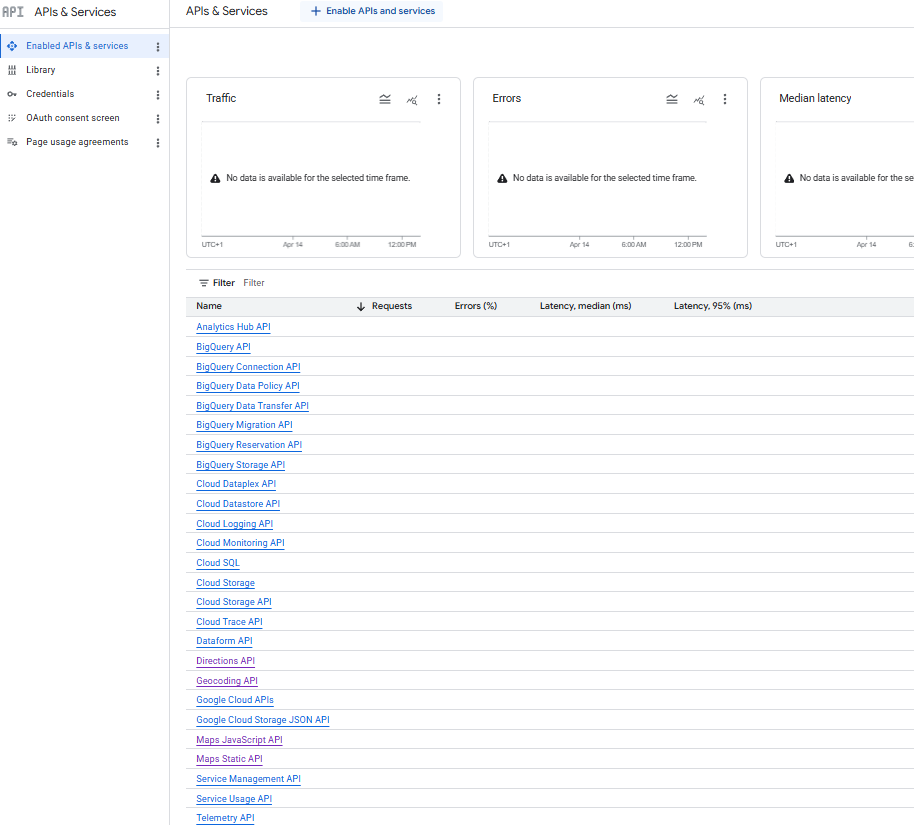
On the Enabled API's & services, you will see a list of API's available down the screen. If you don't see this, press Enabled API's & services on the left hand side of the screen
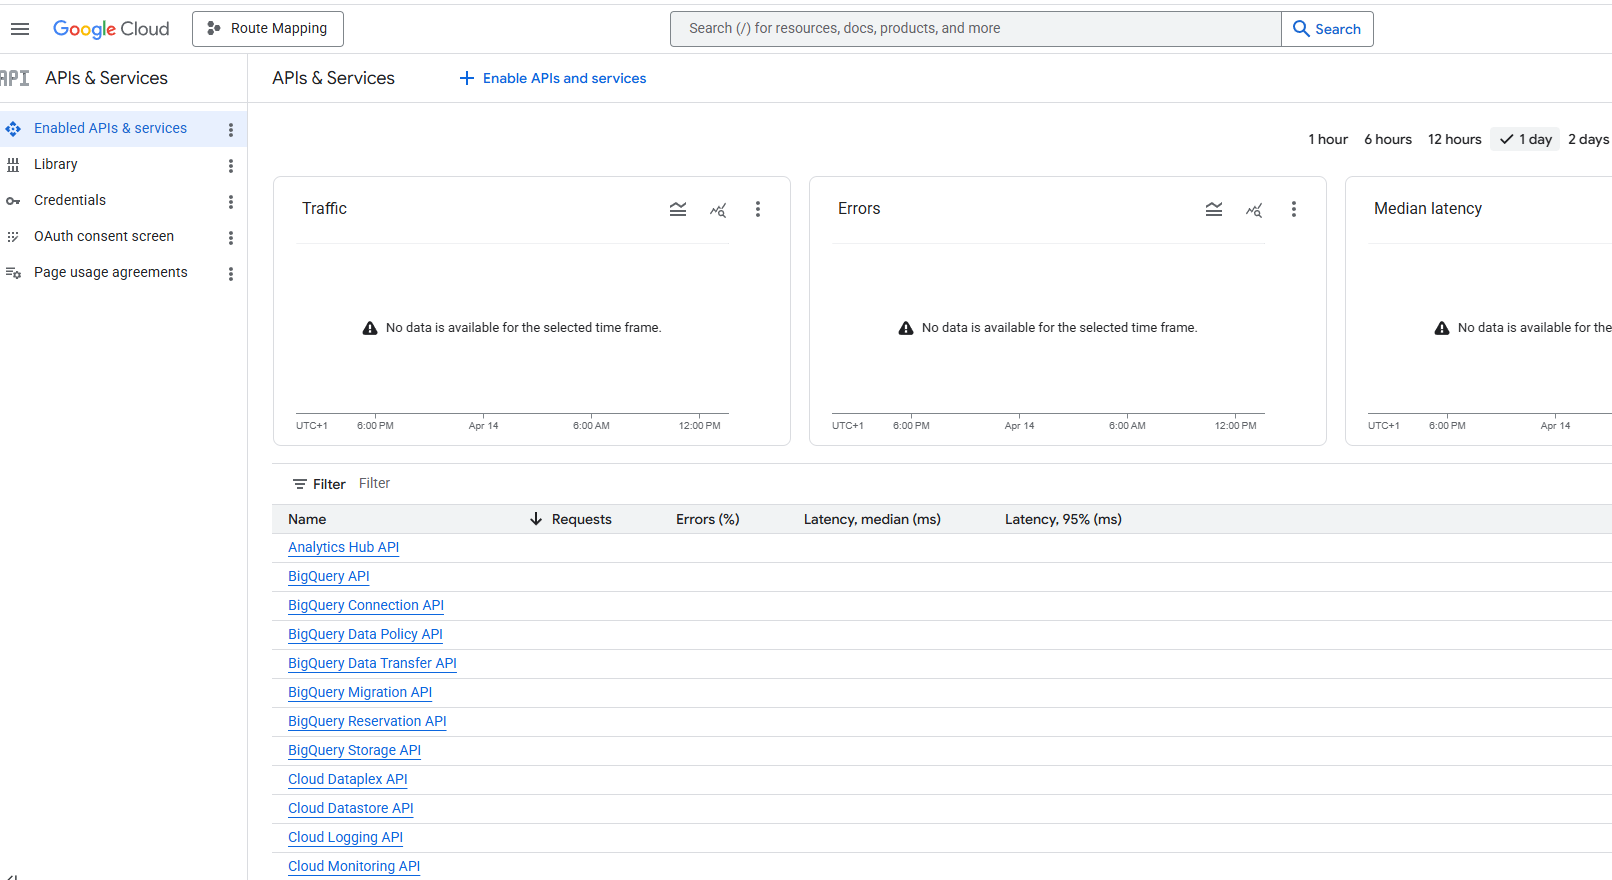
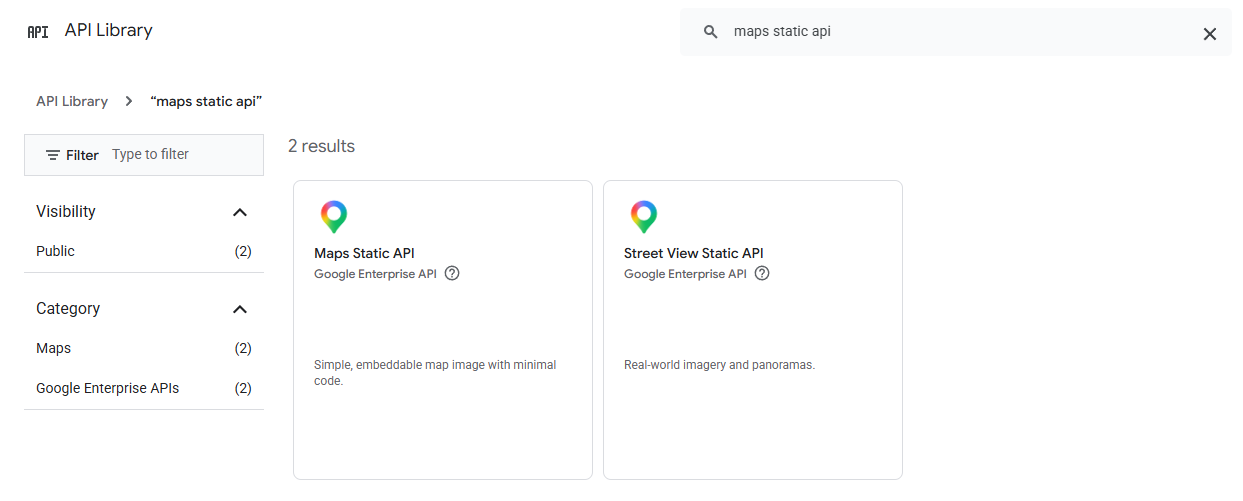
At the top of the screen, press the + Enable APIs and services (or you can press the Library button on the far left) and use the search box to enable the following APIs:
- Maps Static API
- Directions API
- Maps JavaScript API
- Geocoding API
Search for Maps Static API and press the Maps Static API button, then on the next screen, press enable
After pressing Enable, it will ask for account information. The first page is to confirm the country from a dropdown list. Once selected, press Agree & continue.
The second page will ask for contact information and a payment method. Put your company address, save and then add your preferred payment method e.g. credit / debit card
Google requires a payment card to be able to use the Google API features. However, they do have a $200 free usage every month, and the NCM usage should not come close to hitting any charge thresholds.
If any payment details are incorrect or if the billing information has expired, the API will not work until updated
Repeat the same steps for the other API's in the above list
Once you've added the API's you will see them in the list of API's & Services from the Enabled API's & services window
Creating Google API Key
Now you have all the API's required on your account, you need to create an API key that links.
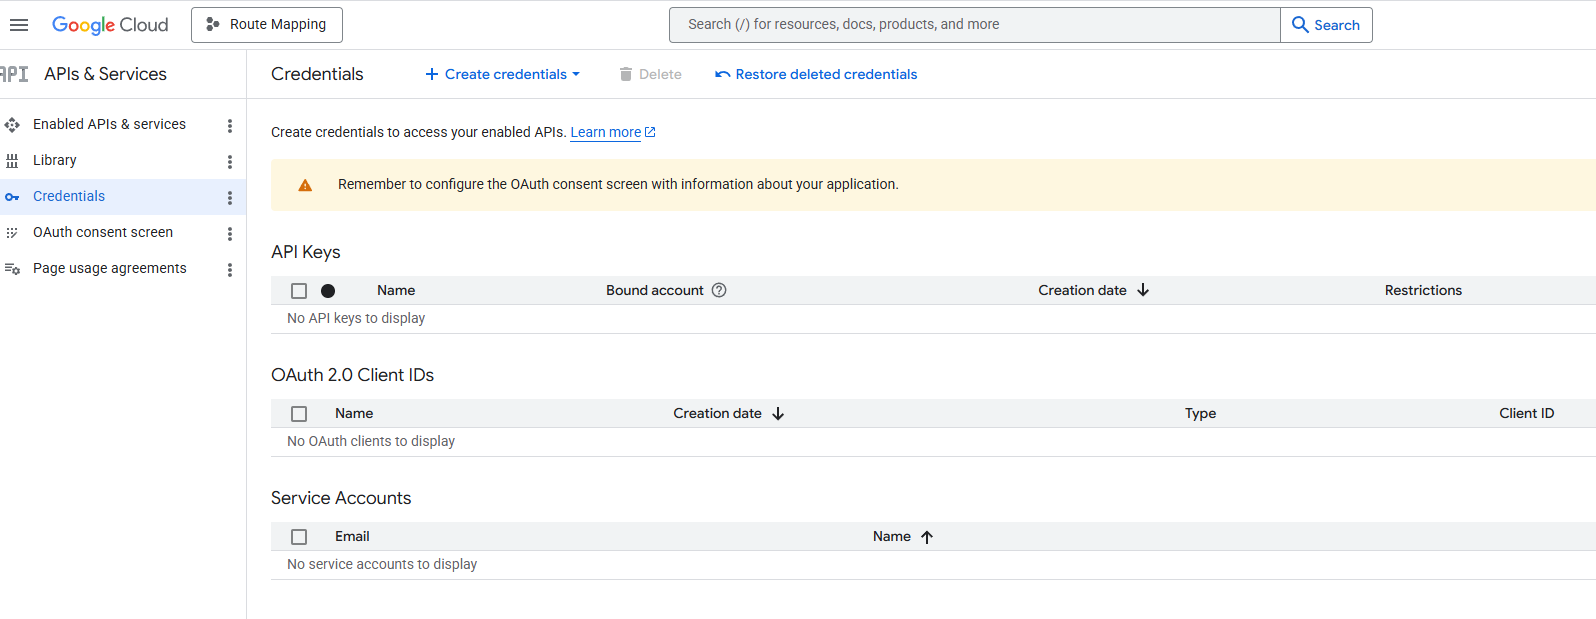
To do this, from the API's & Services page, click on the Credentials button at the left of the screen and then press + Create credentials at the top of the window
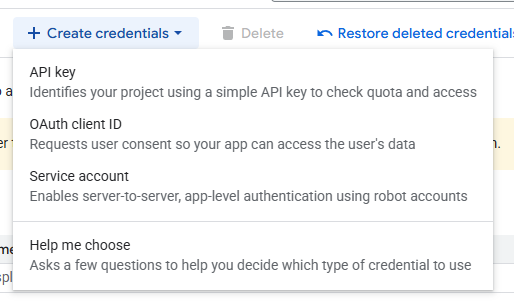
In the dropdown, select API Key
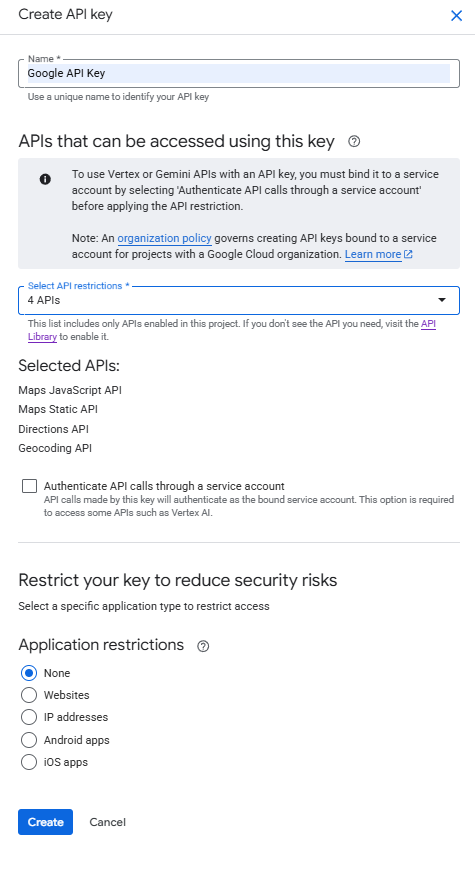
This will then open a side window where you can name the API key and select which API's you want in your key.
Give the API an appropriate name e.g. Google API Key and in the Select API dropdown, tick all 4 API's you added previously:
- Maps Static API
- Directions API
- Maps JavaScript API
- Geocoding API
So the API Key looks like:
Once this is done, click create, the side window will update and show you your API key.
Please take a copy of this as it will be required later
If you ever need to get a copy again, in the Credentials window where we went first to start creating the API key, you will now see your Google API Key in the list
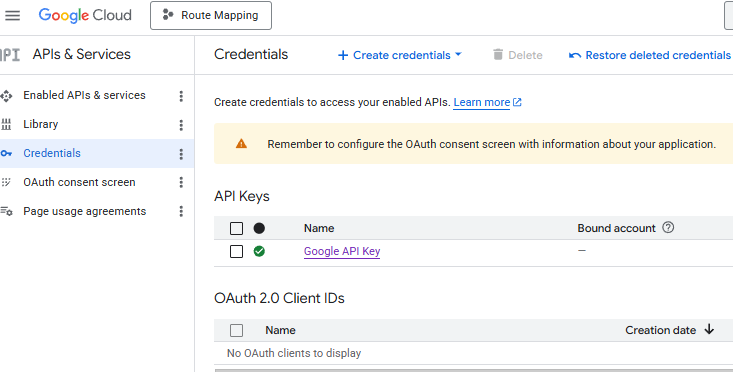
You can click on this link to make any required changes or to see the key again
Adding Google API Key to NCompass
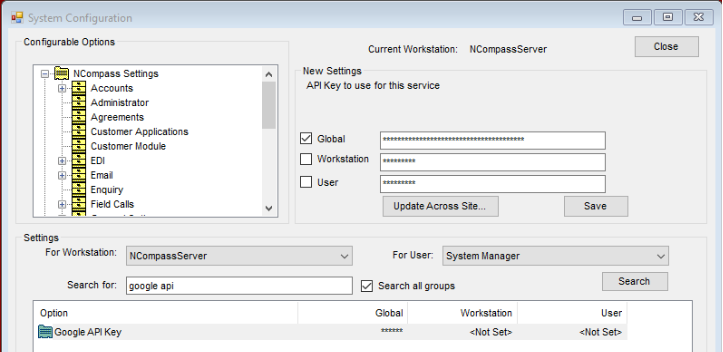
Go to NCompass. You will need to be logged in with administrator access. Click on Tools > Configuration, and then search for ‘Google API’ (ticking the search all groups box). Tick the Global box and paste in the Google API Key. Press Save.
Adding Billing Details
If you didn't add billing details before or if your billing details expire, they need to be added / updated
To do this, go to: https://console.cloud.google.com/
As mentioned above, if any payment details are incorrect or if the billing information has expired, the API will not work until updated
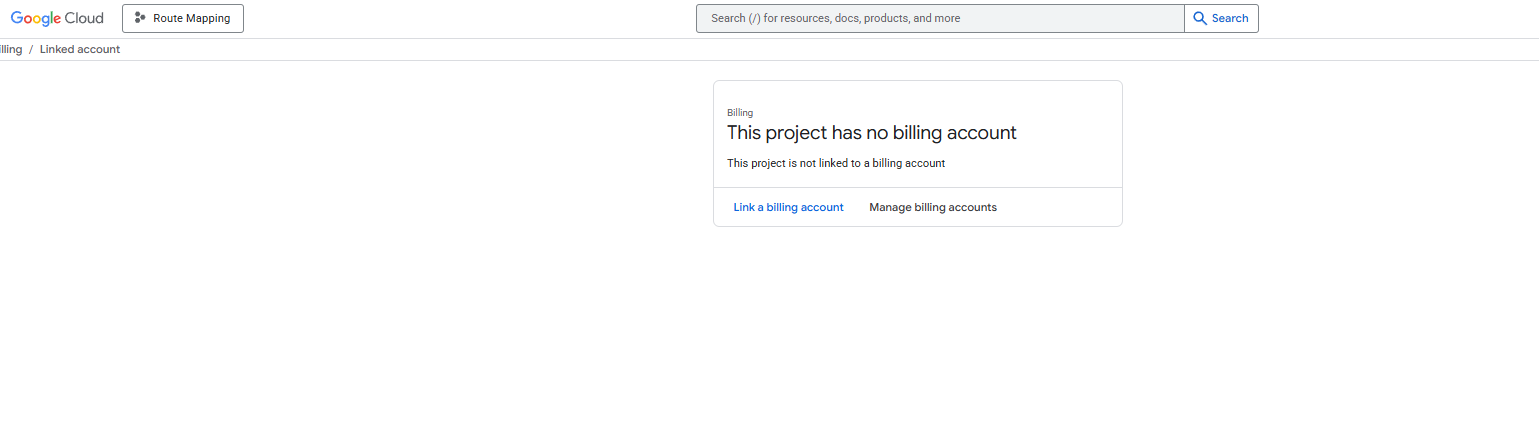
It will likely auto select your route mapping product but if you have multiple, make sure you select the project you created at the start of the guide
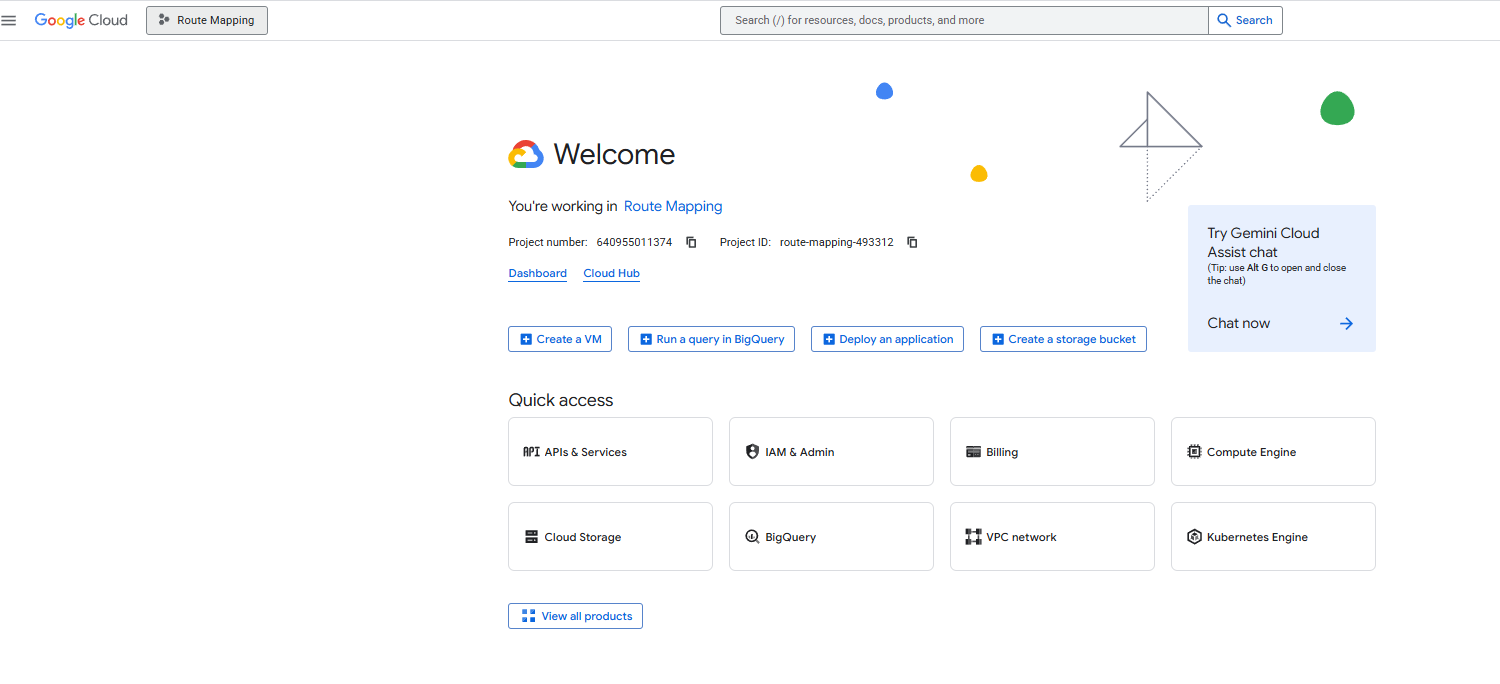
From this Welcome window, click billing and you can select link billing account if not created or Manage billing accounts if renewing card details. From here, fill in or update details as required