Adding Images to Sub-Category Pages in Magento
This guide explains how to add images to your sub-category pages, giving your customers a more visual and intuitive navigation experience. The process is straightforward and requires minimal effort to set up.
Step 1: Log in to Magento’s Backend
-
Open your browser and go to your admin panel.
Example:mywebsite.co.uk/cssadmin -
Enter your provided username and password.
Step 2: Navigate to Categories
-
In the left-hand menu, go to Catalogue > Categories.
-
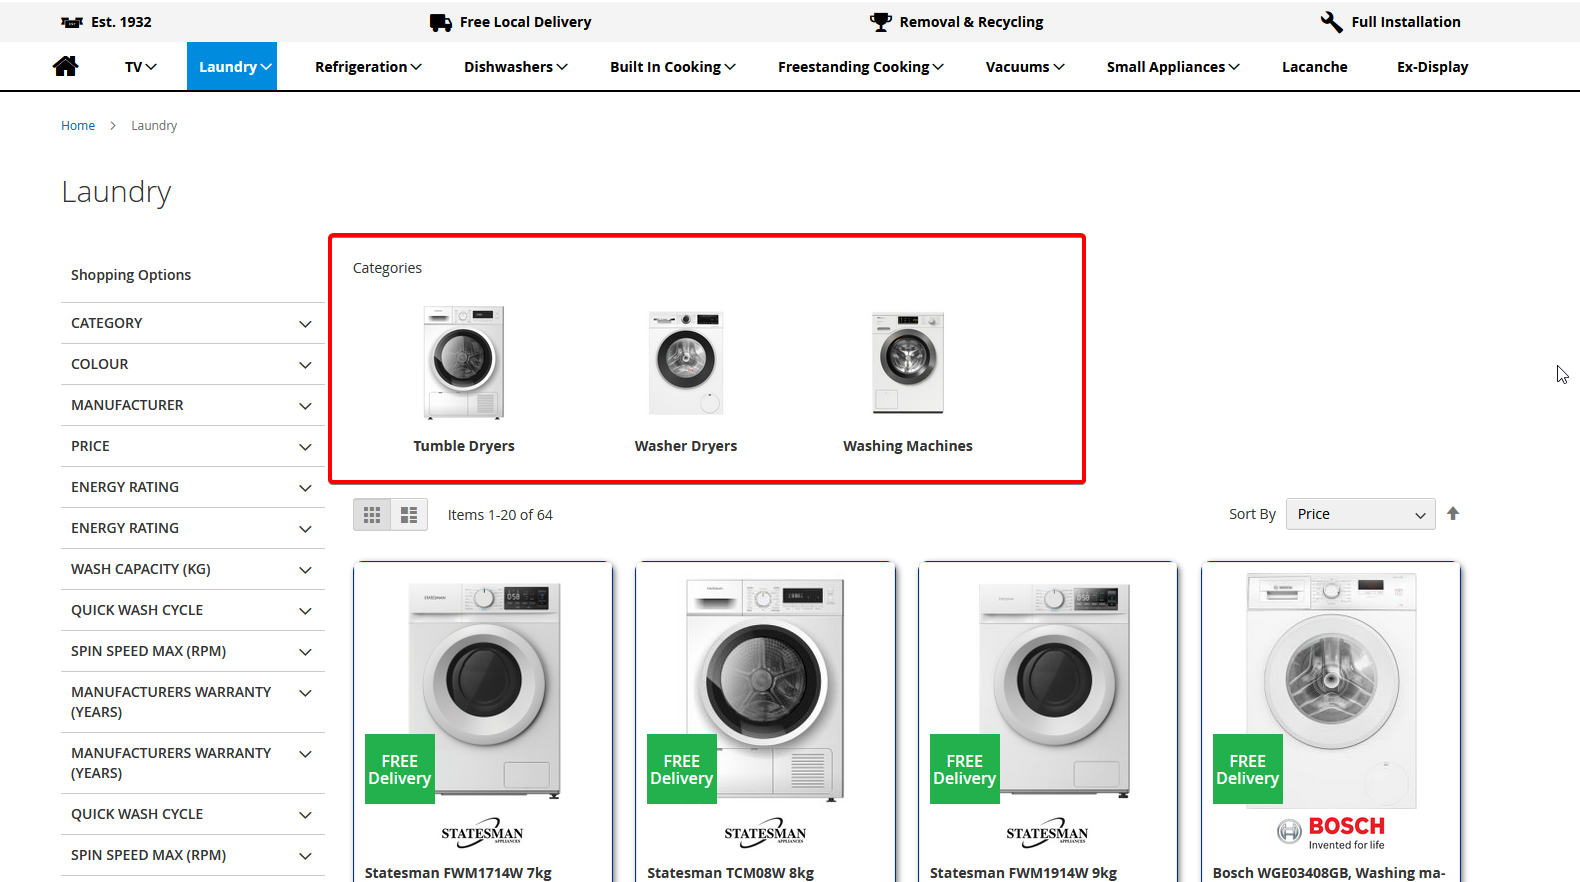
Select the parent category you want to enhance (e.g., Laundry).
For example, if “Laundry” has child categories such as Washing Machines, Washer Dryers, and Tumble Dryers, you can assign images to each child category.
Step 3: Add an Image
-
With your chosen category selected, expand the Content section.
-
Locate the image box. You can either:
-
Click the box and upload an image from your local computer, or
-
Drag and drop the image file directly onto the box.
-
Image guidelines:
-
Use square images for the best results.
-
Recommended maximum size: 300 × 300 pixels.
-
Format: JPG or PNG.
Step 4: Save Your Changes
-
Once the image has been added, click Save at the top right.
Step 5: Clear Magento’s Cache
-
Go to System > Cache Management.
-
Click Flush Magento Cache.
Step 6: View on the Frontend
After the cache is cleared, the images you’ve added will appear on the front end of your website, enhancing your category navigation.