Getting Started
Introduction
The Warehouse and Stock Application (WAS) is a powerful tool designed to assist warehouse operatives with stock management.
Companies of all sizes can benefit from using the app, whether you operate a manned or unmanned warehouse, or store stock within a retail shop. WAS makes stock management easy and efficient.
The current version of the app supports the following stock management processes:
- Goods In – capturing images, item condition, and serial numbers.
- Supplier Collection – tracking supplier returns and marking them as collected.
- Manual Store – storing items in barcoded locations.
- Bulk Move – moving multiple items between locations.
- Stock Take - stock take on fully tracked items and their locations.
- Load Vans – picking stock for in-house vans and external carriers.
- Picking Jobs - picking stock for in house vans and external carriers by location.
- Unload Vans – tracking unloading of collections and failed deliveries.
- Order Collection – completing customer collections with image and signature capture.
- Stock Count - stock count linking to the Desktop process.
- Stock Management – assign images, store serial numbers, change retail prices (configuration controlled), and reprint labels.
- Custom Menus - Manage users menus from NCompass, simplify or remove menu itesms on a user by user basis
Stock Swapping
Stock swapping is a feature that can be enabled on a per-user basis and is turned off by default.
When picking stock for vans, this feature allows the operator to pick the most accessible stock number, provided the model number matches.
If stock swapping is disabled, the operator must pick the exact stock number allocated to the sale.
Pallet Management
The pallet feature allows multiple items to be stored under a single pallet number.
Each item within the pallet still retains its own unique stock number, but individual labels are only printed if the pallet is split.
This feature is turned off by default and should only be used when items are stored on pallets or within outer cartons.
Automatic Transfers Within Branch
New Feature
This feature must be enabled in NCompass configuration.
When enabled, stock will automatically transfer between stock rooms and branches. For example:
- If an item is stored in a location locked to Stock
- And is then scanned into a location locked to Display
- The item will automatically move to the Display stock room
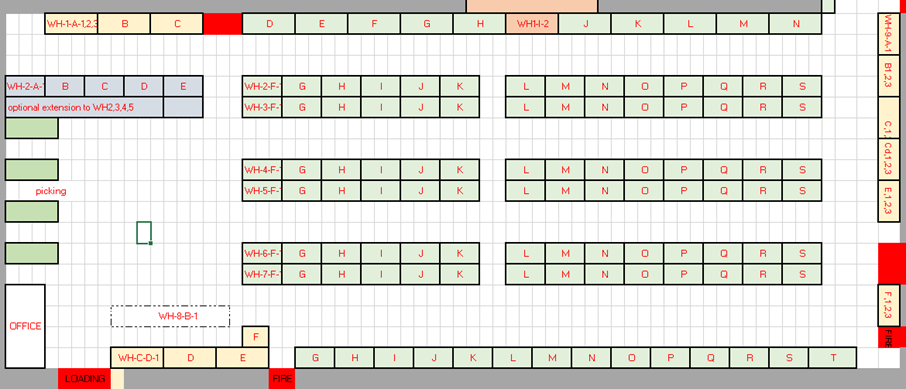
Warehouse Mapping
As part of the initial setup, an Implementation Engineer will typically visit your warehouse to advise on the best way to map your warehouse into stock locations.
They will:
-
Create stock locations within NCompass
-
Provide a document containing barcodes to print and place around the warehouse
-
Advise on barcode design depending on storage type (e.g. floor labels vs racking labels)

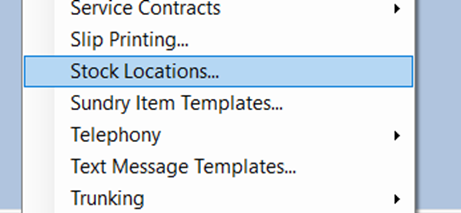
Stock Location Management
You can create your own stock locations; however, it is strongly recommended that you consult the Implementation or Support Team before making changes.
Administration > Stock Locations
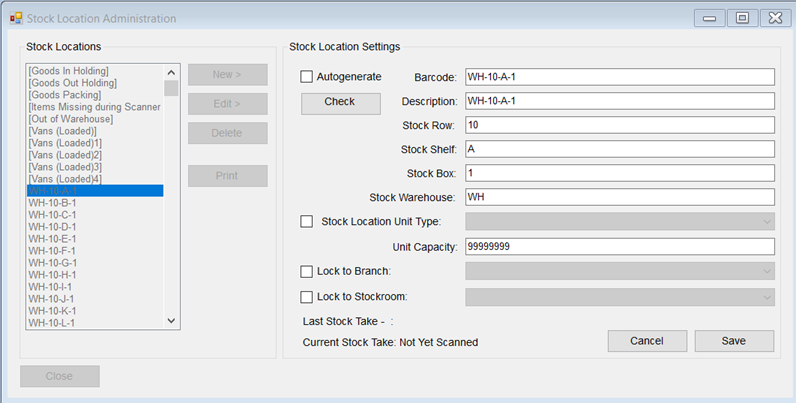
Creating a Stock Location
- Tick Autogenerate to automatically build a barcode.
- Enter a Description for the barcode.
- Enter a Stock Row.
- Enter a Stock Shelf.
- Enter a Stock Box.
- Enter a Warehouse Prefix.
- Enter a Unit Capacity (if required).
- Lock the location to a Stock Room if applicable.
- This is required for Automatic Transfers within branch.
- Click Check to confirm the barcode is unique.
- Click Save.
Starting the App
- Press the power button on the top of the handset to turn on the screen.
- Swipe up on the lock icon to unlock the device.
No PIN or pattern is required by default, although this can be configured in device settings.
Ensure the device has Wi-Fi or 4G connectivity, otherwise the app will not function.
The app icon is blue and displays a warehouse symbol.

Logging In
When you Log in for teh first time on WAS Version 2.10.0 or later, you will be prompted to setup a storage location for the Apps Log files
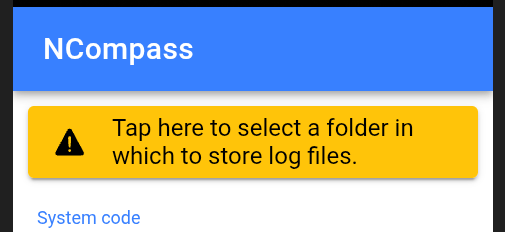
Click the 'Tap Here' Box and it will ask you to select a folder
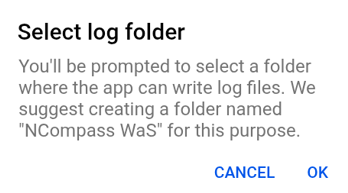
Click 'Ok'
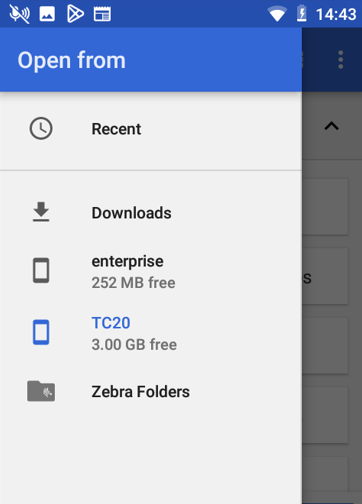
Then Select the new folder option form the menu ...
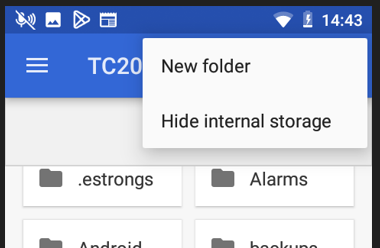
Eneter a suitable folder name and click 'OK'
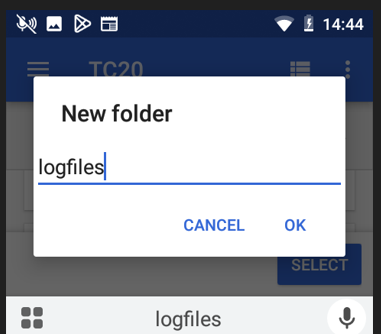
Then click 'Select'
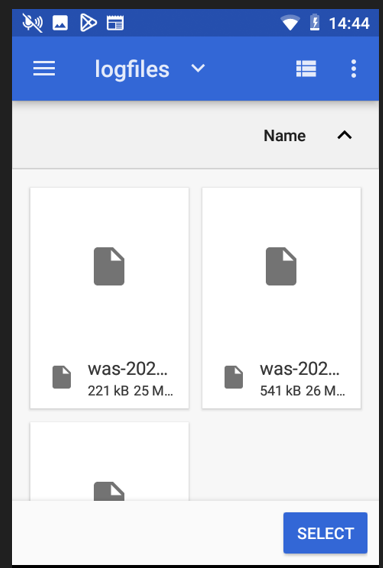
The APP will not ask again, unless teh device is reset
You must log in at least once per day for security reasons. It is recommended to log out at the end of each day.
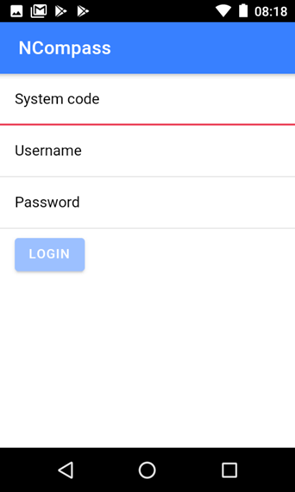
In the latest release of NCompass, staff selection and PIN entry can be enforced. This ensures: All actions are logged against the signed-in user, Improved auditing and accountability.
Please contact the Support Team if you are interested in enabling this feature.
If you get a Salesperson prompt on the scanner when logging in, select yourself from the drop-down menu. If you have a password set up in NCompass input it or just click 'Confirm' to log in.
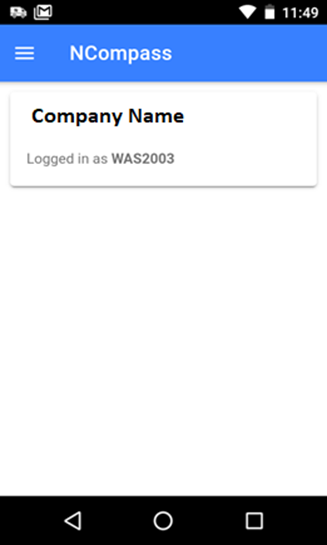
Tip: You can return to the home screen at any time. If another user needs to log in, simply scan their QR code to fast-switch users — no logout required.
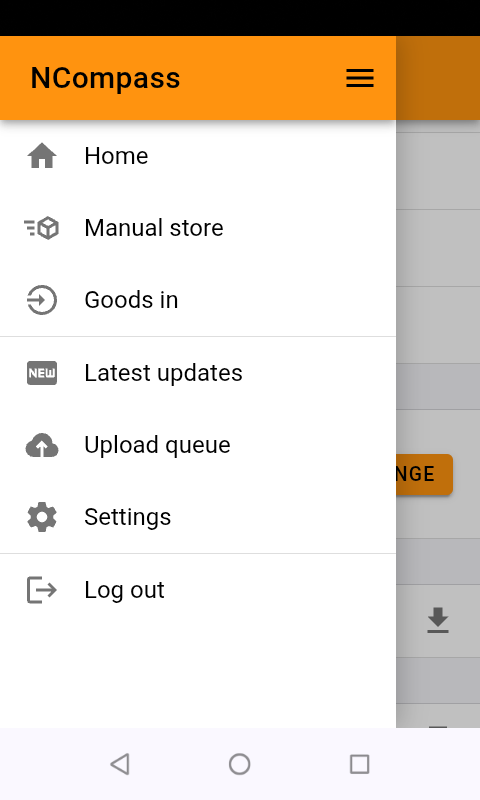
Navigation
Access the full application menu by selecting the menu icon.

Tip: You can open the menu at any time while using the app to quickly switch processes.
Log Out
To Log Out when you are finished with the App:
- Click on the Menu Icon
- Scroll all the way to the bottom of the menu
- Click Log Out
Customising Menu items
The default setting for the APP will show all menu items, if you would like to limit the menu options, for Example, if you have a user that only needs to do goods in, you can set a custom menu, with just the items the user needs to complete is tasks, in this example, [goods in] and [manual store]
Administration > Menus
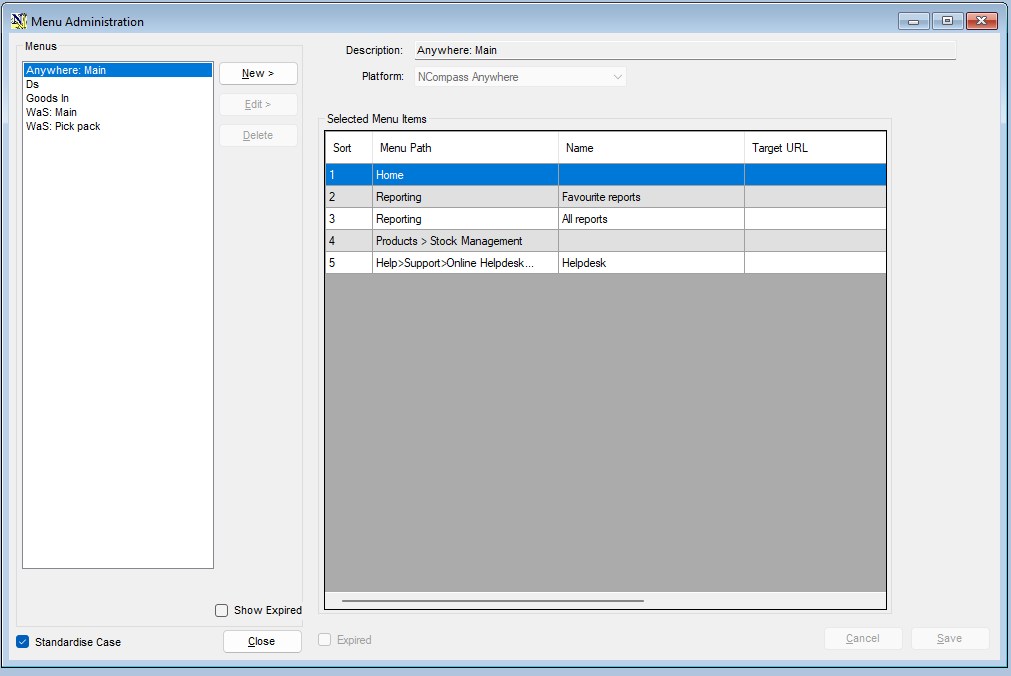
- Click New
Or
Note: Some Menus in the list are system default menus and cannot be edited or deleted
For New menus
- Enter a description for the Menu
- Select the platform the menu is for from the drop down list (WaS)

once the platform is selected you will be presented with a full list of the available menu items in the top list
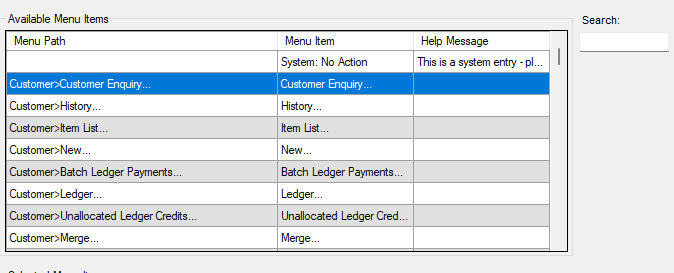
You can also each for the menu item with the search box
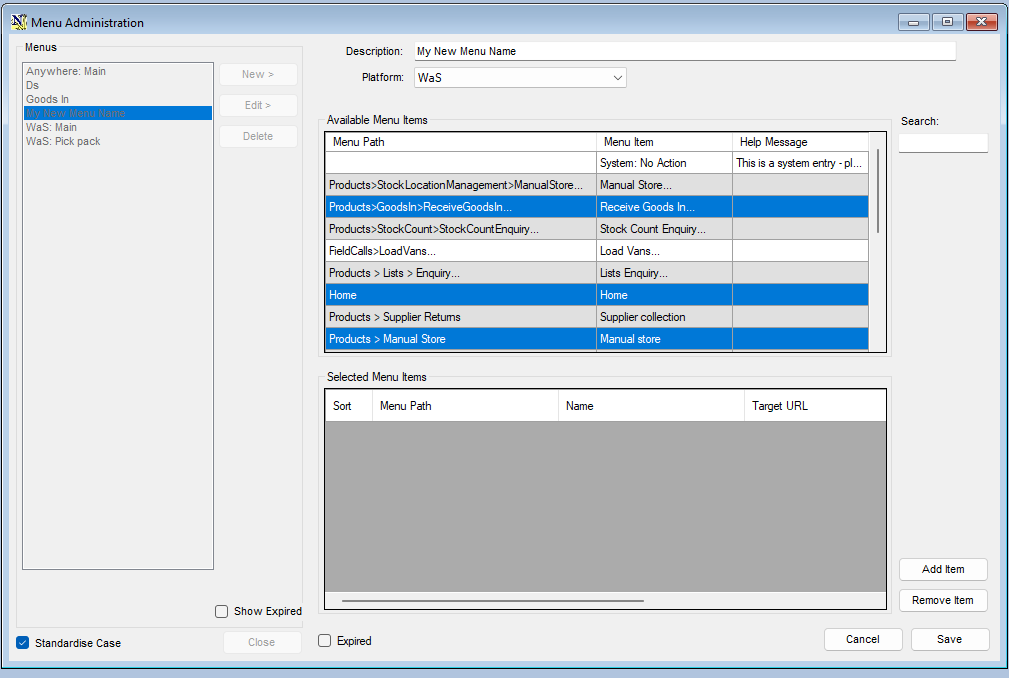
Click 'Add Item'
Click 'Save' When you your selection
Adding your menus to a workstation or User
This is done from
Tool > Configuration
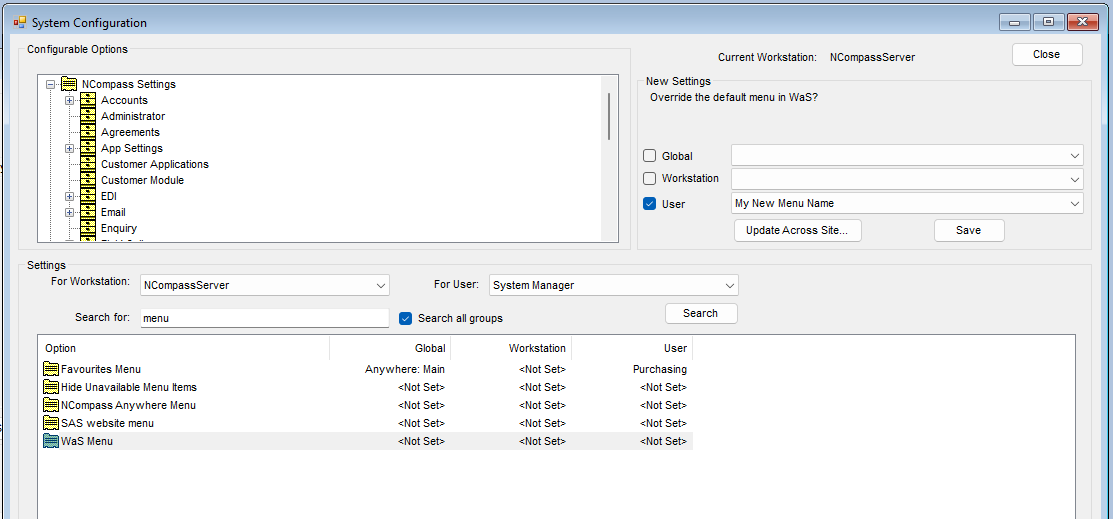
You can set the Menu at workstation or user level, As a WaS log in is normally tied to a workstation, it's usually best to set it at User Level
Your new setting will take place the next time the user logs out of WaS and logs back in, or you can force the update by going to the Scanners menu
Scroll down to the Data Section
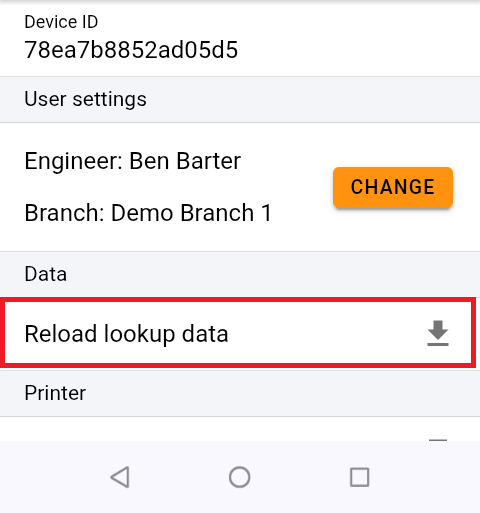
- Click on 'Reload Lookup Data'